How to Make a Laundry Cupboard by Yourself?
We are going to show you step by step how to achieve a great result building your own more ‘streamlined’ laundry corner. You can’t store nested magnesium glycinate chelate, other pills or things of necessity there, still, it is the must-have detail at any home.
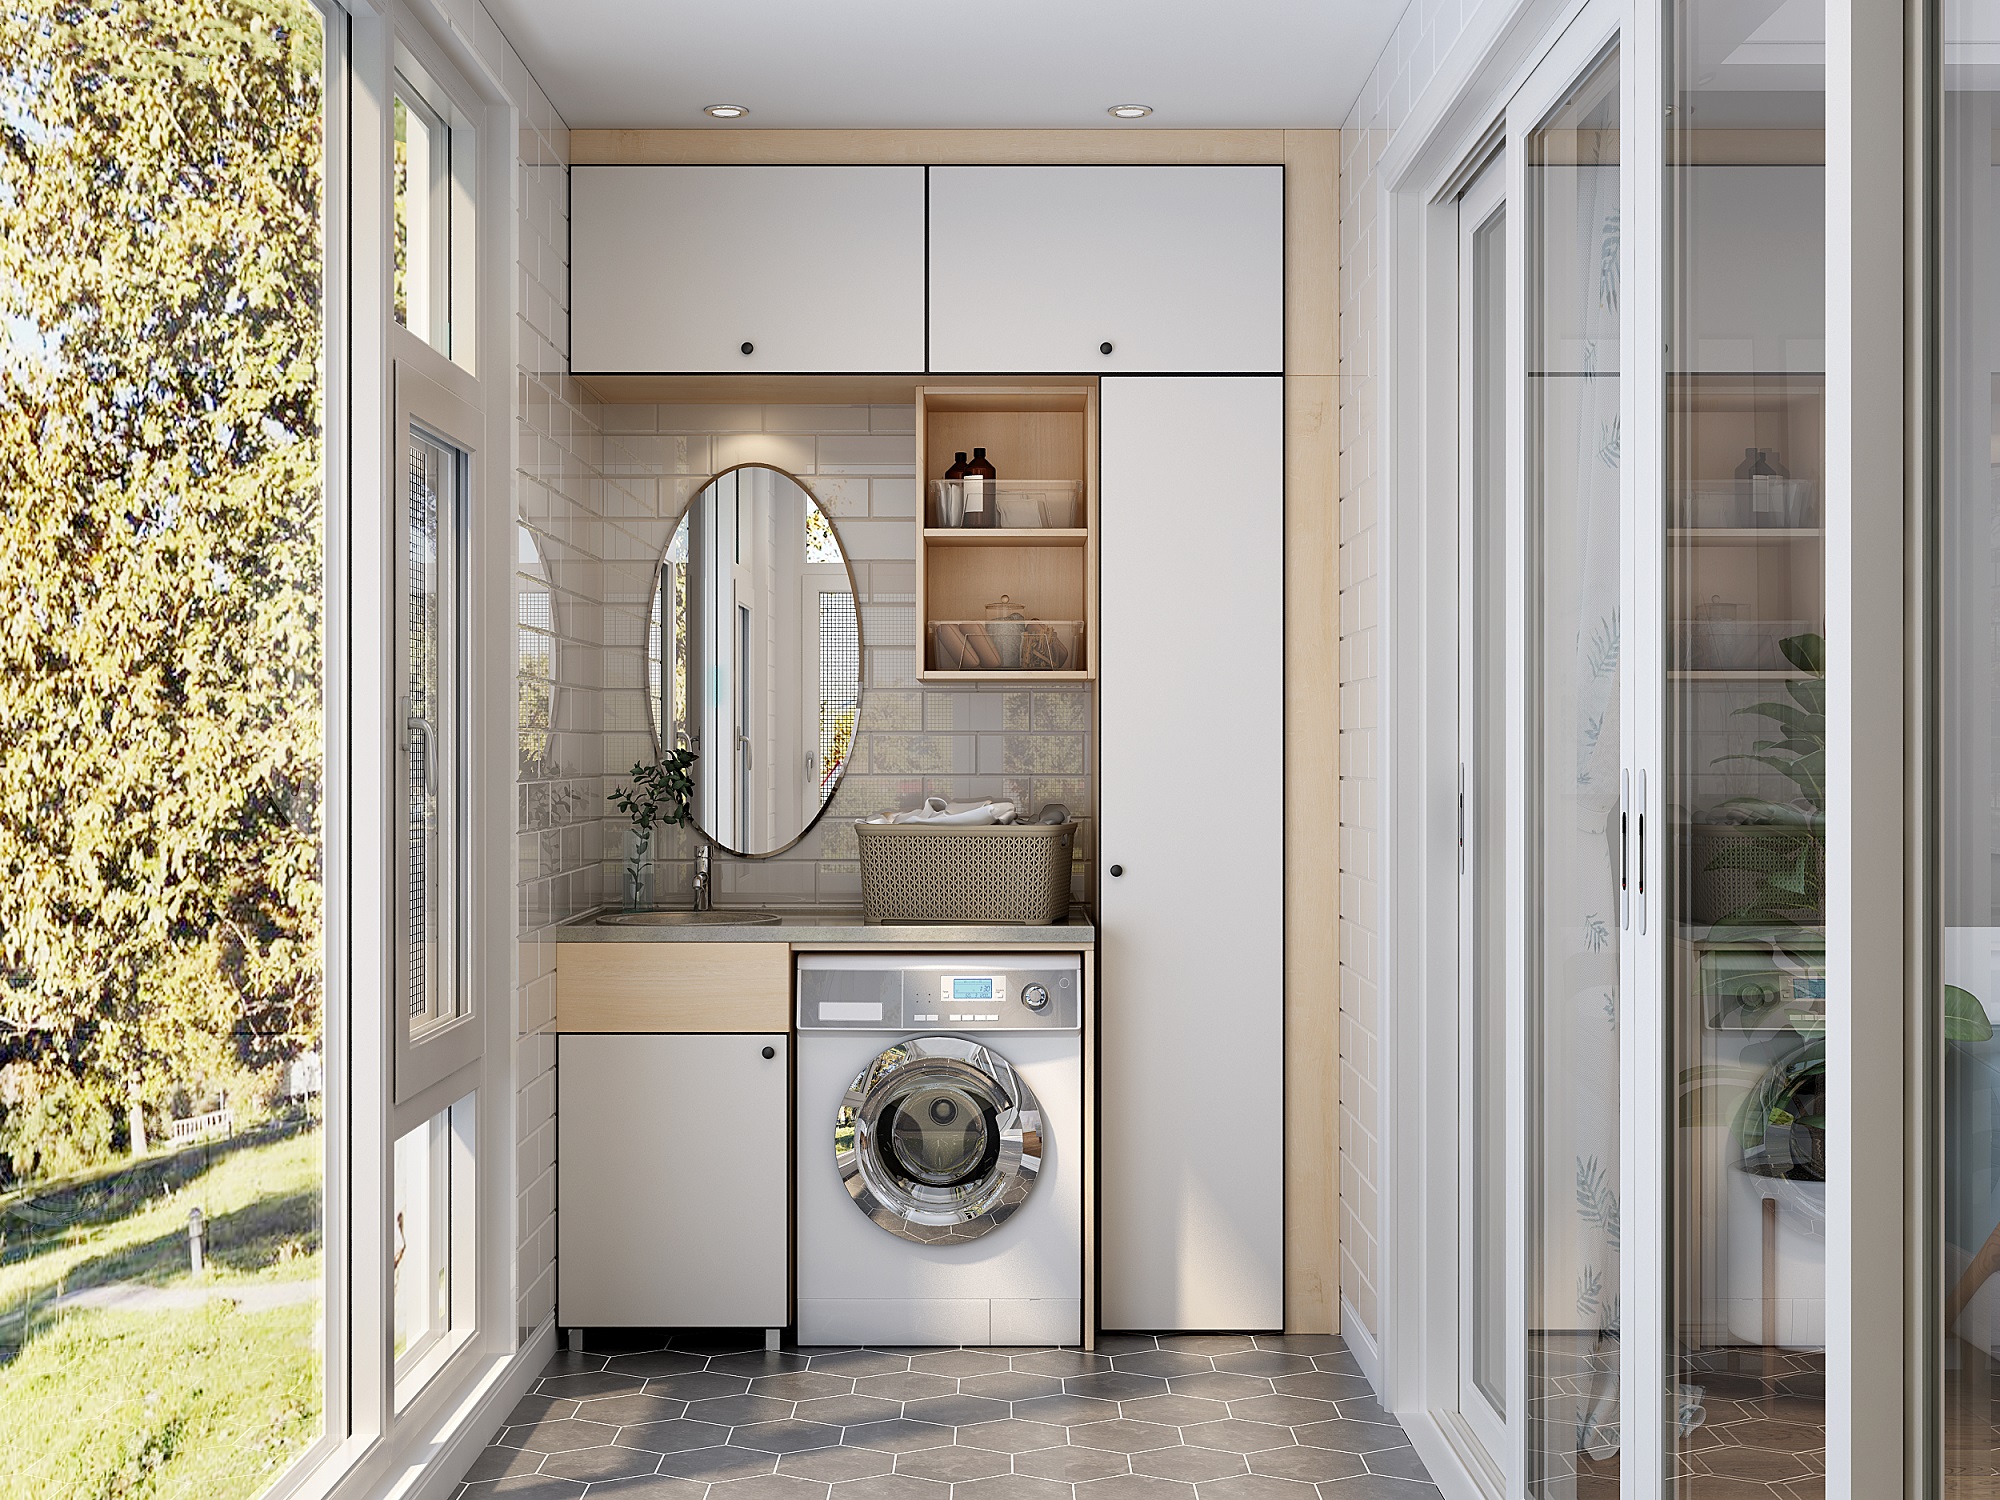
Let’s move to our brief project guide.
Hard labor – 3/10
Skill level – 6/10
Time needed – about three hours
Finished size ±870 (H) x 650 (W) x 80mm (D)
Do it yourself for ~$400 (supawood R70; pine R80, hinges R10, primer & paint R240)
PROJECT NOTES
• Most modern washing machines protrude slightly beyond the surrounding cabinetry and it is necessary to consider this in the desired design and either make a screen or a fitted ‘cover’. You may choose the latter option to show an alternative solution, with the advantage being that this reduces noise substantially. If your washing machine does not protrude, a hinged door (see optional steps) would be the ideal.
Use these materials:
• 6mm supawood for the detailed inset.
• 70 x 22mm pine for the frame.
• 70 x 16mm white melamine strips for reveal (frame around the back of the door), as we intend painting the screen door white. If you plan to paint another color or even to distress the door, use 70 x 22mm pine or supawood.
• Our opening measured 870 x 650mm; adjust your cutting list as needed.
SHOPPING LIST
Front frame
• Two 1800 x 70m x 22mm pine cut to two 820mm lengths two 650mm lengths
Back frame (for the freestanding screen)
• Two 1800 x 70 x 22mm pine or 16mm cut to two 870mm lengths one 650mm length one 618mm length
Inset
• 6mm supawood cut to one 740 x 530mm
Plus
• wood glue
• cabinet hinges (optional)
• corner blocks
• 10mm wooden dowel
• 70mm chipboard screws
• 16mm chipboard screws
• panel pins
• primer and paint; pay attention to Plascon Multisurface primer followed by an off-white topcoat of Plascon Velvaglo
• paintbrush or foam roller
Tools
• drill
• 3mm drill bit and 10mm drill bit OR combination countersink bit
• 38mm Forstner bit (optional)
• try square
• saw and miter box
• pencil
• measuring tape
• router
• hammer
• G-clamps
• straight edge
Before Get Started
1 Clamp each of the two sets of 70 x 22mm pine lengths for the front frame firmly to your work surface then, using your router and a straight bit, cut a recess along one edge measuring 10 x 10mm deep.
TIP
One could also use a table saw to do this: set the blade to cut a depth of 10mm and adjust the guide so the blade will cut 10mm from the edge of the timber. Cut along the length then turn the timber on its edge to complete the right-angled cut.
2 Use the saw and mitre box to cut the 70mm x 22mm pine to the lengths needed to create your door frame. Cut the ends at 45 degrees to create your mitered corners. REMEMBER The edge with the recess must face to the inside of the frame.
3 Then drill countersunk pilot holes and fix the lengths at right angles to make up the framework. Use the 10mm drill bit to create two holes roughly 10mm deep at the ends; use a piece of tape wrapped around the bit to indicate the drilling depth. Then use the 3mm bit to drill the pilot hole. Now glue and screw together using the 70mm chipboard screws (two screws at each joint). Use clamps to hold the corners together while you fix these together.
4 Add some glue into the 10mm holes then tap the end of the 10mm wooden dowel into the holes. Use a hacksaw blade to trim the exposed end flush with the surface. Repeat until you have plugged all eight holes.
5 Now mark lines across the length of the 6mm supawood panel. Start by marking a line down the middle then divide the remaining space into equal parts; our lines were spaced roughly 80mm apart. Once you’re happy with the spacing, replace the straight bit with a tapered router bit. Using a guide clamped firmly in place and your base plate adjusted, rout 5mm deep grooves along these lines.
6 Fix the 6mm supawood backing into the inside of the framework. This will also provide lateral support to the frame structure. Use panel pins to fix the panel in place, as shown.
7 Use the corner blocks to fix the 70 x 22mm pine or 16mm melamine lengths to the outside of the frame to create the reveal. Now add the doorknobs.
Optional steps
7A If your washing machine is positioned deep enough within the surrounding cabinetry to enable you to add a hinged door to cover it – the ideal – use the 38mm Forstner drill bit and an electric drill to drill two holes along one side 5mm from the edge, as shown.
7B Use a tri-square to ensure the hinges are positioned correctly (at right angles to the door edge) before fixing these in place, then hang the door in position.